Today I just learn and going to share with you,
how we can get an image From Gallery in our Android app
so below is the step by step description also at last
you can find zip source code of this example.
We will create very simple app to do this work
-------------------------------------------
App Name: PickGalleryImage
Package Name: com.rdc.activity
Android SDK: Android SDK 2.3.3 / API 10
Default Activity Name: PickGalleryImageActivity.java
-------------------------------------------
PickGalleryImageActivity.java
package com.rdc.activity;

import android.app.Activity;
import android.content.Intent;
import android.database.Cursor;
import android.graphics.BitmapFactory;
import android.net.Uri;
import android.os.Bundle;
import android.provider.MediaStore;
import android.view.View;
import android.view.View.OnClickListener;
import android.widget.Button;
import android.widget.ImageView;

public class PickGalleryImageActivity extends Activity implements
		OnClickListener {

	private static int RESULT_LOAD_IMAGE = 1;
	private Button btnLoadImage = null;
	private ImageView imageView = null;

	@Override
	public void onCreate(Bundle savedInstanceState) {
		super.onCreate(savedInstanceState);
		setContentView(R.layout.main);

		btnLoadImage = (Button) findViewById(R.id.button_LoadPicture);
		btnLoadImage.setOnClickListener(this);
	}

	@Override
	public void onClick(View v) {

		Intent i = new Intent(Intent.ACTION_PICK,
				android.provider.MediaStore
                              .Images.Media.EXTERNAL_CONTENT_URI);

		startActivityForResult(i, RESULT_LOAD_IMAGE);

	}


	@Override
    protected void onActivityResult(int requestCode,
                                     int resultCode, Intent data) {
    	super.onActivityResult(requestCode, resultCode, data);

		if (requestCode == RESULT_LOAD_IMAGE &&
                              resultCode == RESULT_OK && null != data) {
			Uri selectedImage = data.getData();
			String[] filePathColumn = { MediaStore.Images.Media.DATA };

			Cursor cursor = getContentResolver().query(selectedImage,
					filePathColumn, null, null, null);
			cursor.moveToFirst();

			int columnIndex = cursor.getColumnIndex(filePathColumn[0]);
			String picturePath = cursor.getString(columnIndex);
			cursor.close();

			imageView = (ImageView) findViewById(R.id.imageView);
			imageView.setImageBitmap(BitmapFactory
                            .decodeFile(picturePath));

		}


    }

}
main.xml<?xml version="1.0" encoding="utf-8"?> <LinearLayout xmlns:android="http://schemas.android.com/apk/res/android" android:orientation="vertical" android:layout_width="fill_parent" android:layout_height="fill_parent"> <ImageView android:layout_width="fill_parent" android:layout_weight="1" android:layout_height="wrap_content" android:id="@+id/imageView"></ImageView> <Button android:layout_height="wrap_content" android:text="Load Picture" android:layout_width="wrap_content" android:layout_weight="0" android:layout_gravity="center" android:id="@+id/button_LoadPicture"></Button> </LinearLayout>AndroidManifest.xml
<?xml version="1.0" encoding="utf-8"?>
<manifest
	xmlns:android="http://schemas.android.com/apk/res/android"
	package="com.rdc.activity"
	android:versionCode="1"
	android:versionName="1.0">
	<uses-sdk android:minSdkVersion="10" />

	<application
		android:icon="@drawable/icon"
		android:label="@string/app_name">
		<activity
			android:name=".PickGalleryImageActivity"
			android:label="@string/app_name">
			<intent-filter>
				<action android:name="android.intent.action.MAIN" />
				<category android:name="android.intent.category.LAUNCHER" />
			</intent-filter>
		</activity>

	</application>
</manifest>
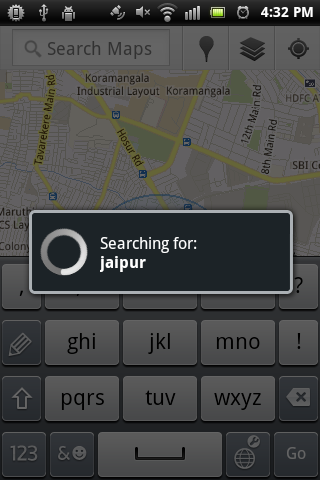
The output Screen will be like this..
Note: before click on upload image button make sure your Android Device is not connected with Computer.
Click to upload image

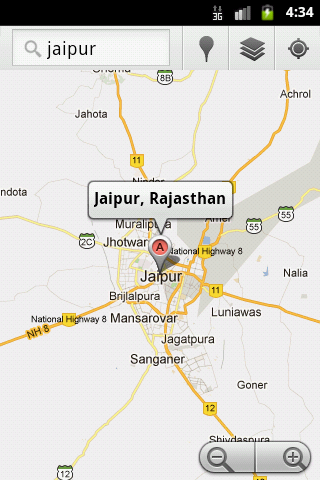
Just select any one image and see you got it here

You can download the complete source code zip file here : PickGalleryimage.zip